
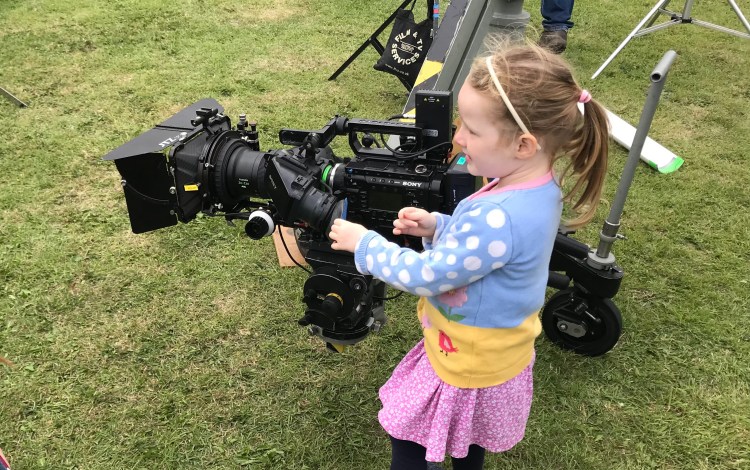
We are all film-makers now! Whether it’s a night out or crowd at a football match, we are constantly filming the action for our social feeds. Normally we take one single shot showing some action and then post it.
The results are amazing. Just look at Insta Reels. The kid knocking over the Christmas tree, the car crash captured by accident, the comedy fall into the swimming pool. Millions of views!
But, as professional film-makers, we can’t rely on these bits of random chance to liven up our films. A single shot of someone falling off a bike could go viral – a similar shot of someone working at a computer will not!
So, as professional film-makers we need to find ways to make the everyday more interesting. And that involves introducing discipline into our filming. When we film anything, we need to think about how the shots we are taking will edit together. Will they jar or will they flow smoothly?
The way we do this is to film sequences. Simply put – a sequence is a series of shots which edit together and hopefully tell a story!
The way to do this is:
- Film different shot sizes: wide shots, mid shots and close ups
- Film from different angles
- Hold the camera steady
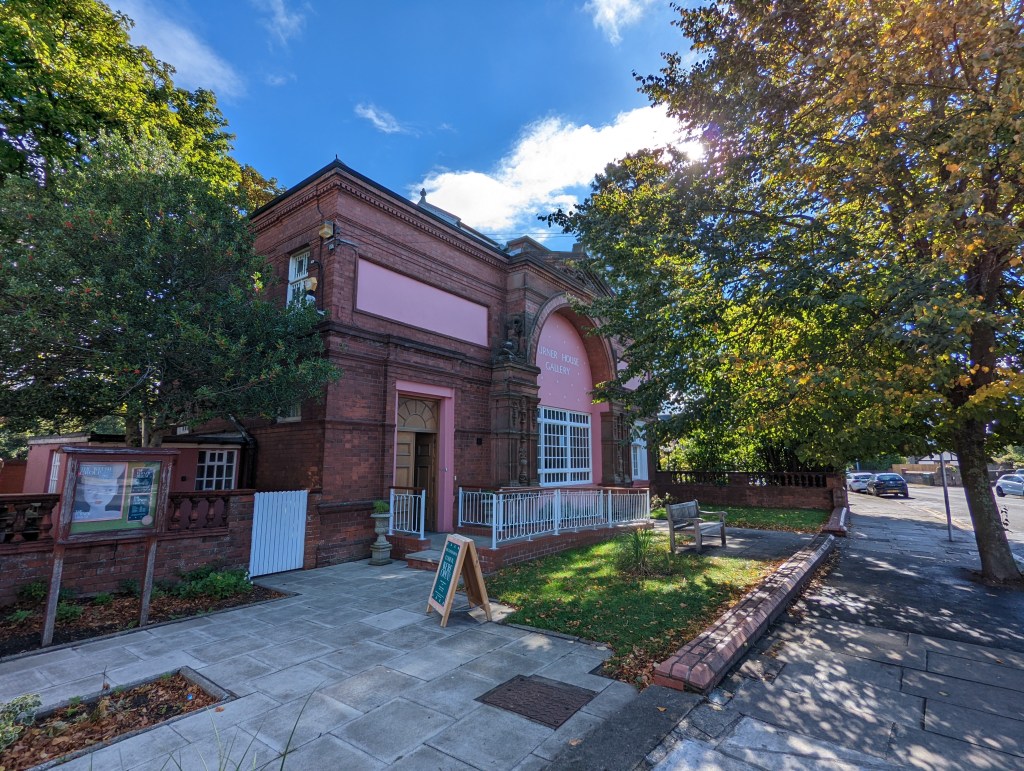
Take a scenario where you are telling a story about the building. An interviewee (or voiceover) might say: “The Turner House Gallery in Penarth is gorgeous. There’s a bit of flaking paint but it is still an architectural gem.”
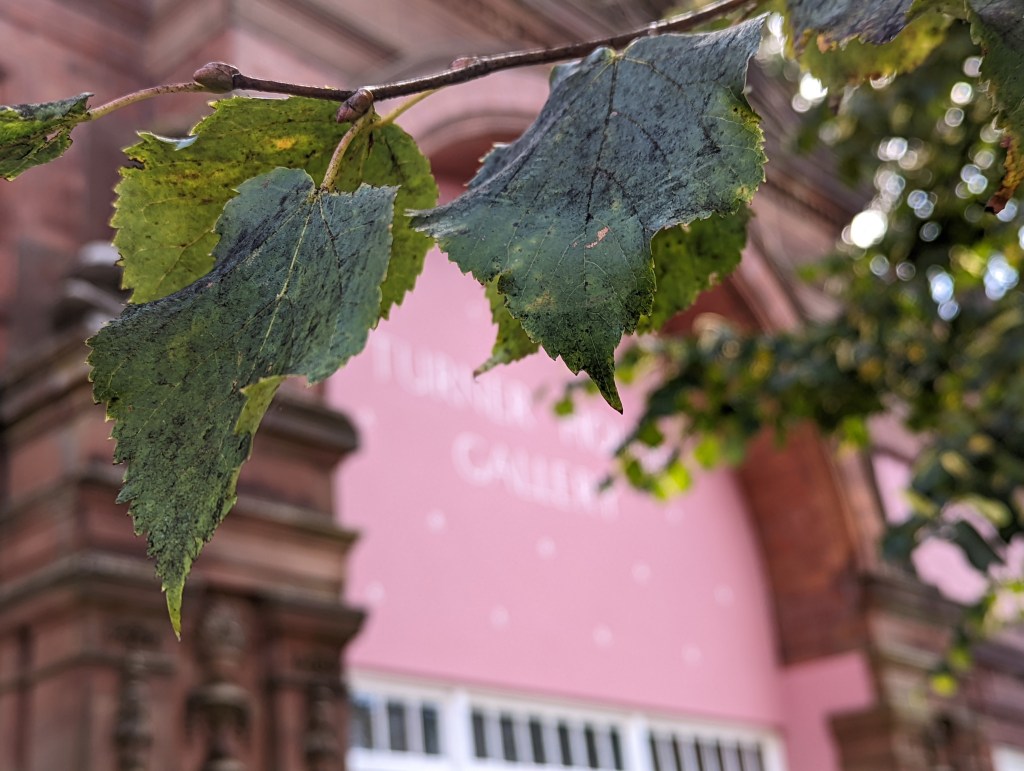
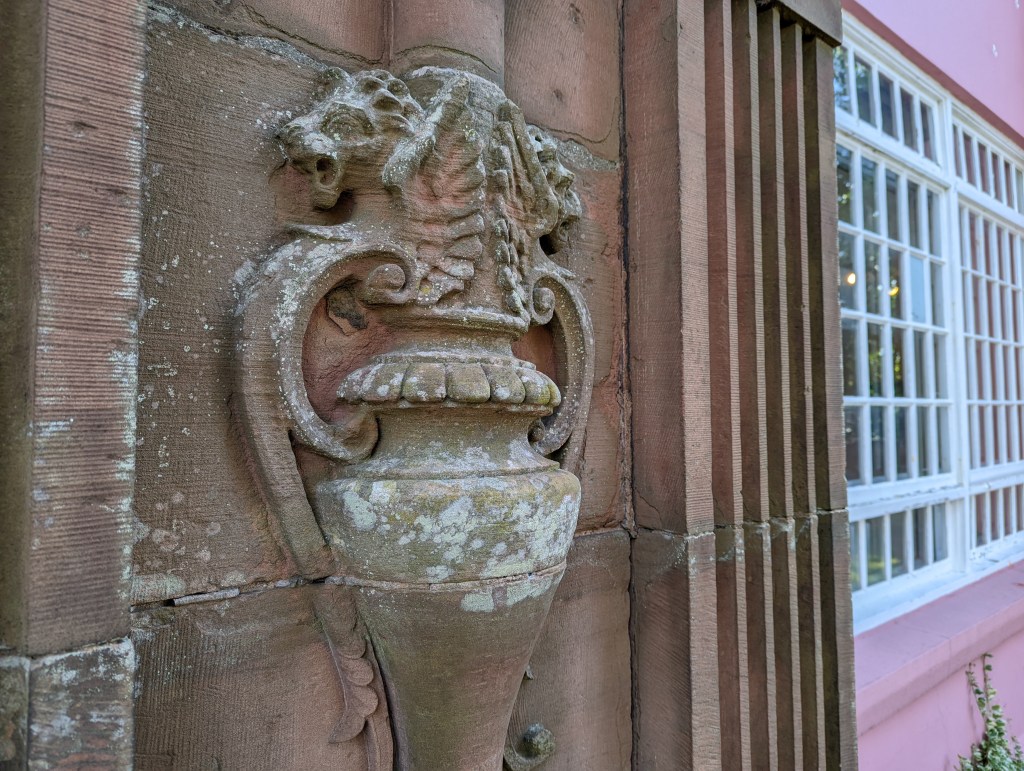
Rather than just getting one shot of the gallery (say the first picture in the collection below), we film a “sequence”. We’ll film a range of shots from different angles and of different sizes.
These are photos I took of the building.

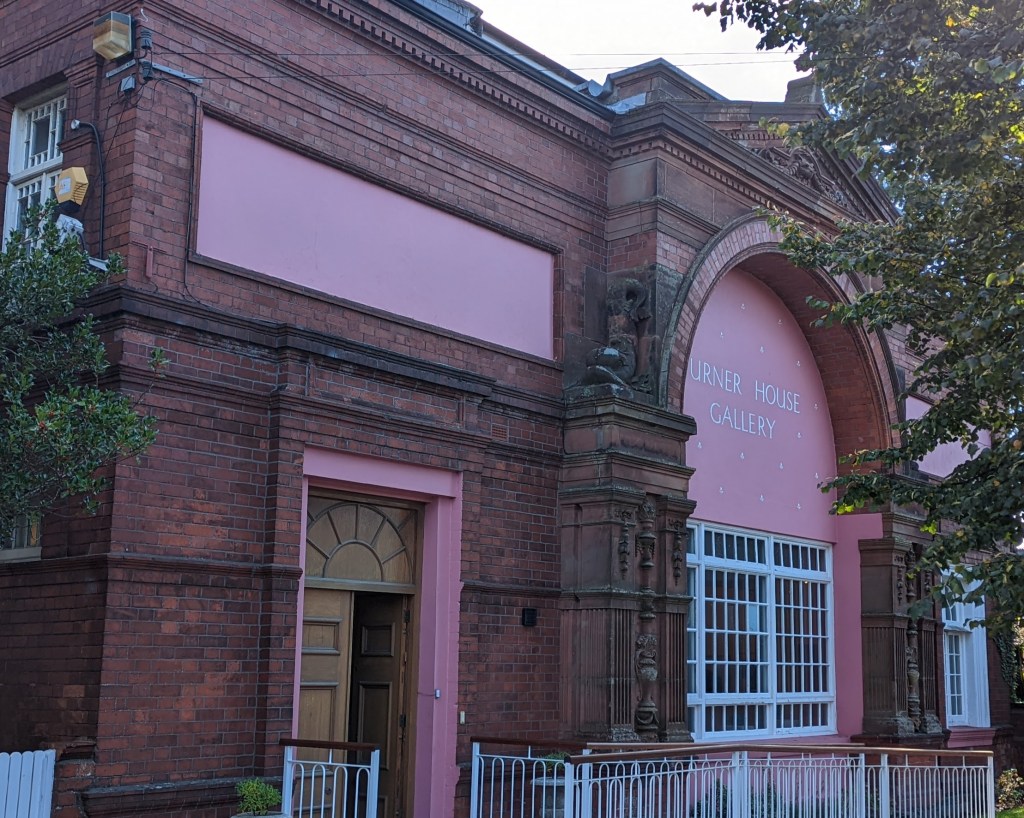


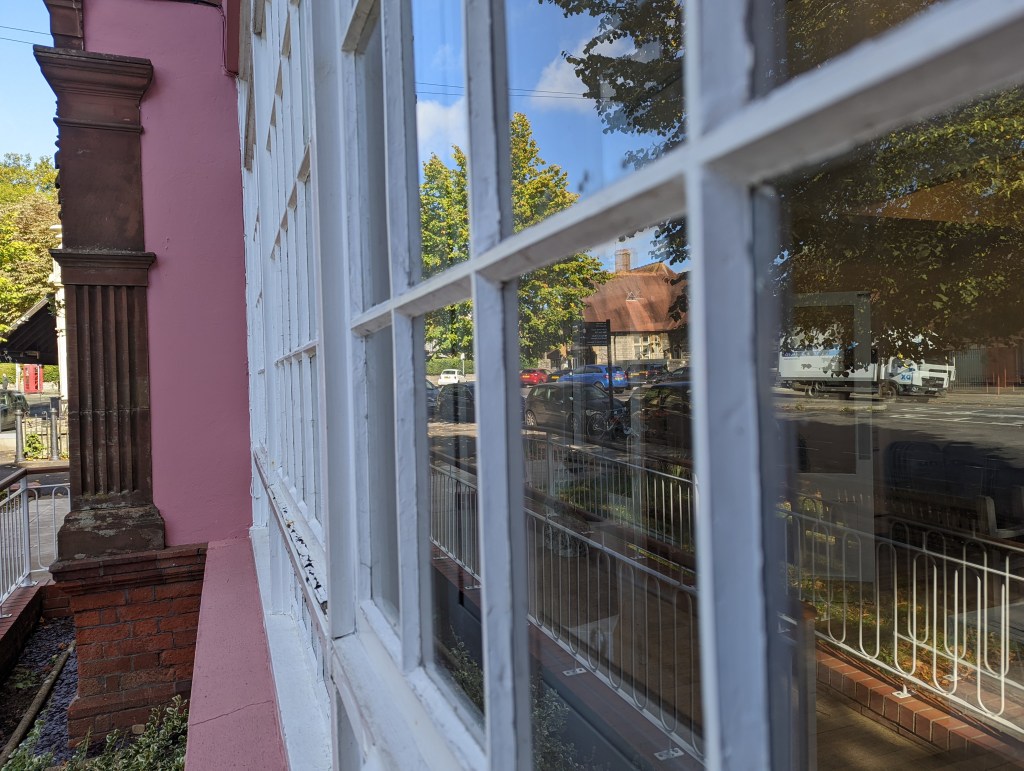

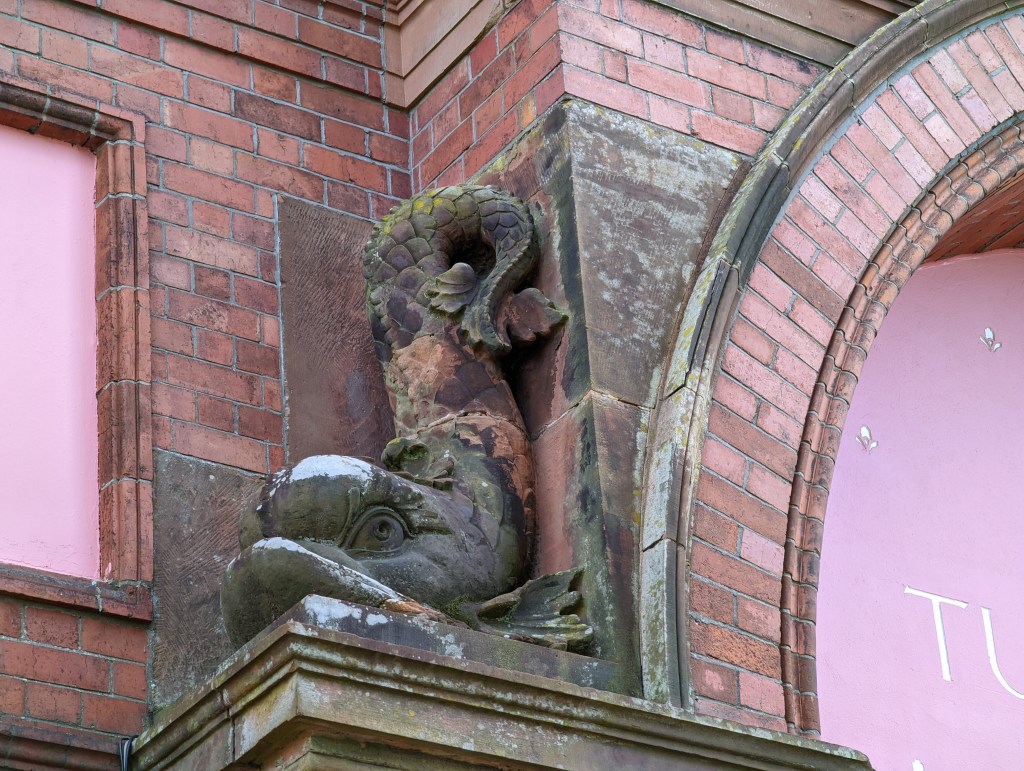

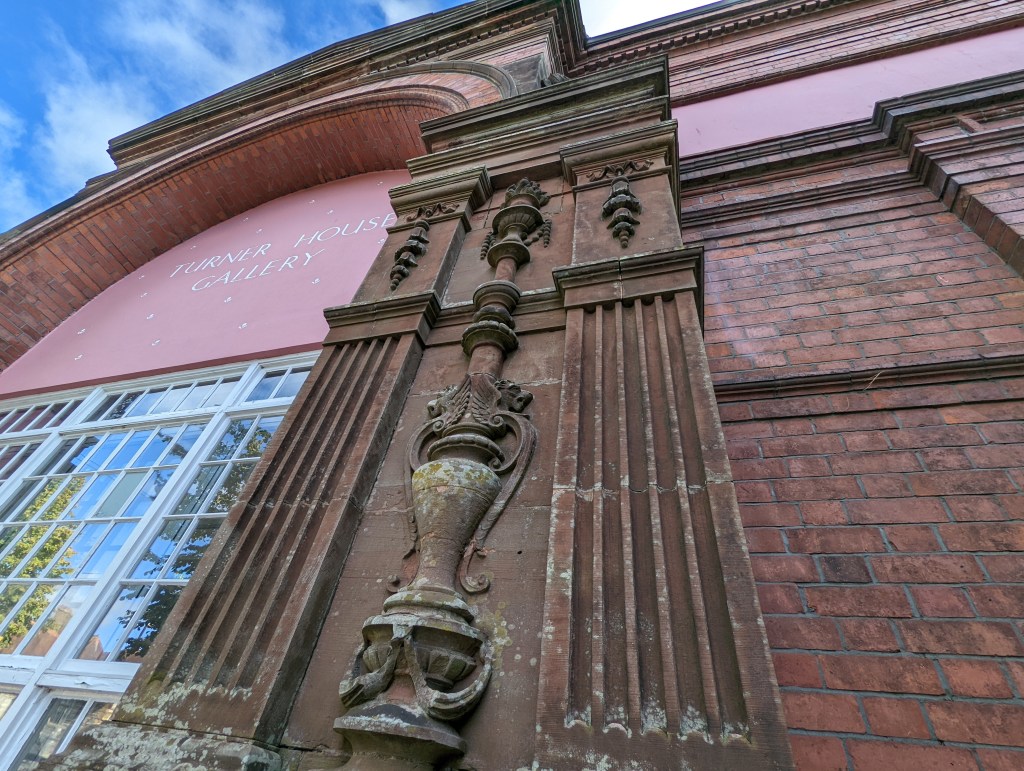

As you can see, the range of shots gives a really good idea of what the building is like.
It also shows one of the golden rules of sequence filming – you need wide shots but detail is much more interesting.
The wide shots give a good idea of the general look of the building and the detail shows us interesting views and aspects of it that we might not have noticed. I made sure to get a picture of the flaking paint to help us tell the story. I have also taken an arty shot focussed on the leaves. This will be visually strong and a nice potential first shot in the sequence.
You will also see that, if I use the pictures at a rate of around one picture every 2.5 seconds, I have way too much material. But this gives me the opportunity to use only the best shots in the edit – and also allows me to use more pictures at a different points in the film to brighten it up.


I might use the shots in the order above – cutting between wide and tight shots and different angles to get a smooth edit. The flaking paint will be placed on our edit timeline to coincide with the point when we talk about this.
Here is a simple example of a sequence.
It’s important to keep the camera as still as possible – ideally on a tripod. It is much easier to edit from a static shot to another static shot. If the shots are wobbly, even the best conceived sequence will jar!
When you are filming these sequences, it is obviously a good idea to know what the story is first. If you have done the interview or written the script before you get these shots, you will know to look for the flaking paint on the gallery windows. If it is an interview, they may also talk of their favourite bits of the building. Maybe you can film that too.
If you film before you do an interview – make sure you have a good idea what they are likely to say from your research chat!
